I was asked to write a bit on reloading (or hand loading, I will use the terms interchangeably throughout this article) a while back. The request came because of a small experiment with velocity that I was working on, but more on that later.
First things first, a small disclaimer and a couple of warnings. I am not an expert reloader, though I have been doing it for nigh on 40 years. If you haven’t reloaded before, I highly recommend you do as much research into the topic as possible. There are several excellent books on the subject like Tom McHale’s The Practical Guide to Reloading Ammo and Steven Gregerson’s The Beginners Guide to Reloading Ammunition. You will also want one of the reloading manuals from Hornady, Sierra, Hogdon, or Nosler, they will provide all the necessary load data.
Keep in mind that if you choose to reload, you are working with low explosives. Both the primers and smokeless powder are inflammable. If you go the blackpowder route, that is actually explosive. You need to keep them in a cool, dry place away from any source of ignition. While we’re on the subject of powder and primer safety, do NOT use any powder or primer that you are unsure of. The use of the wrong powder or primer can cause serious issues up to and including rapid unintentional disassembly of your firearm.
Basic reloading equipment
For rifle and pistol cartridges, you’ll need a press, a set of dies, a priming tool and powder measuring equipment. Case prep tools like trimmers, chamfering tools and primer pocket reamers are good to have, but not entirely necessary to start with. Were I looking to get my start in reloading, I’d probably go with one of the many kits available. RCBS, Hornady, Redding and others make quality starter kits.
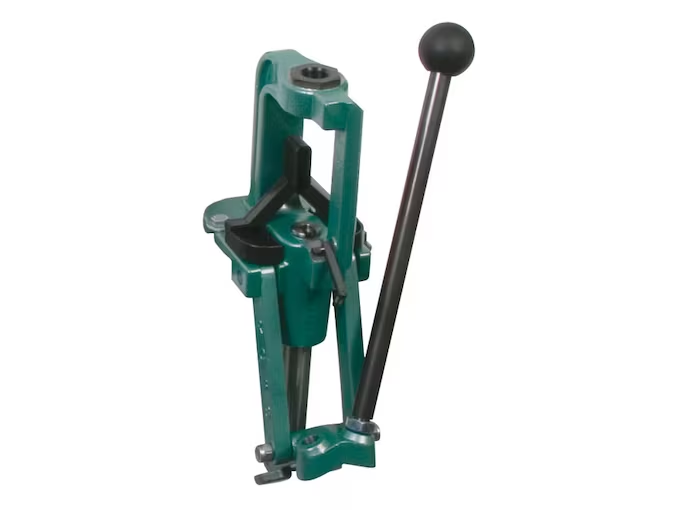
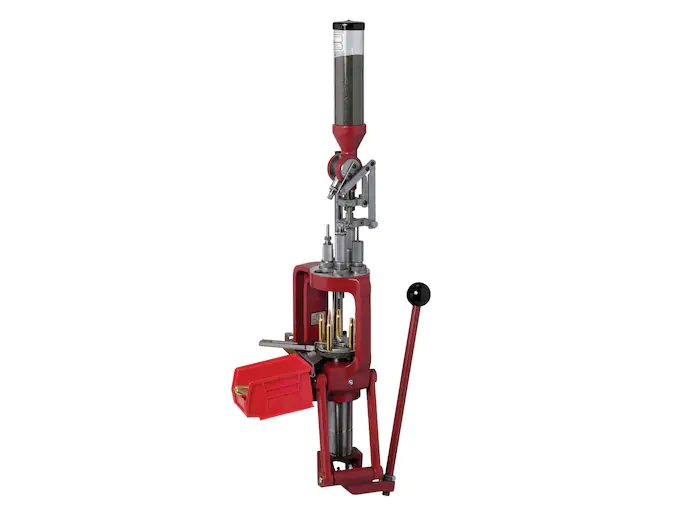
Presses
There are a wide variety of styles and manufacturers of reloading presses out there. The most common types of presses are single stage and progressive. You may also find turret presses. A single stage is just that, each pull of the handle does one single operation in the process. A progressive does up to 5 operations per handle pull and make a complete cartridge after the first couple of pulls. If you’re just starting out, I’d recommend a single stage press.
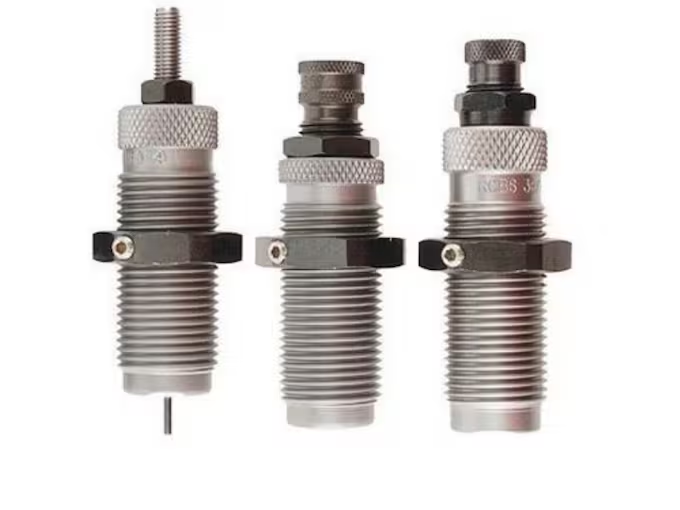
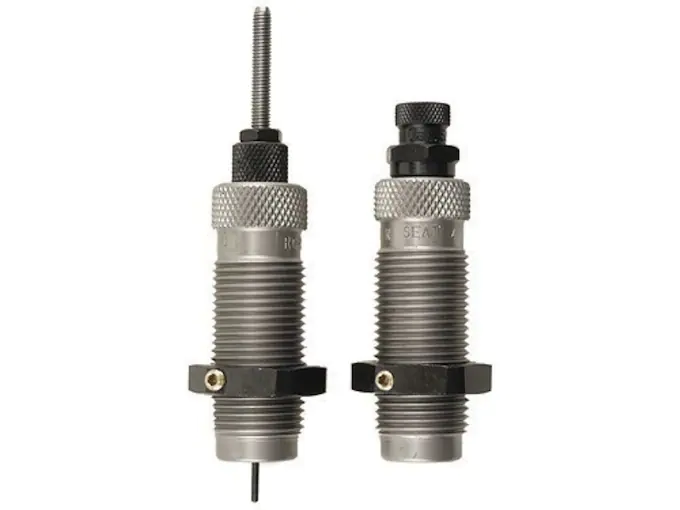
Dies and shell holders
Dies are caliber specific, you’ll need at least one set for every caliber you reload. These dies de-cap the case, resize it, seat the bullet and crimp the neck if necessary. Some, mainly pistol dies, bell the case mouth. If you’re reloading for some semi-auto rifles, you’ll need small base dies. Carbide dies, while more expensive, last longer and do not require the use of a case lubricant.
When shopping for dies, be sure you get the correct thread pattern for your specific press. Hornady and RCBS use one thread pitch and other companies use another. You can usually get bushings to fix that issue, but not always. Depending on caliber, material and manufacturer, you can expect to pay between $50 and $100 for a set of dies.
Shell holders are base diameter specific. For example, the RCBS #3 shell holder fits .308 Win and any of its derivatives as well as .30-06 and its derivatives. If you go the progressive press route, you’ll need one for each station on your press. Don’t worry though, shell holders are inexpensive, usually under $10.
Powder measuring and other accessories
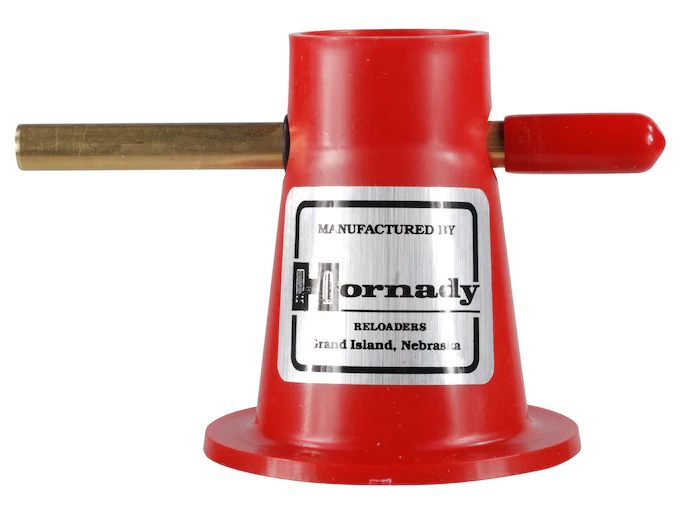
You’ll need an accurate scale of some sort. It needs to display weight in grains. My current go-to scale is a digital one from Hornady. There are several brands of digital scale out there, in a wide range of prices and accuracy ranges. If you’re looking for a scale, be sure to read the reviews as quality and ease of use can vary wildly. At the higher end of the price spectrum you can find electronic powder throwers. While I have one, I tend to not use it much. Don’t take that as a knock on them, they work and work well for the most part. While we’re on the subject of powder measurement, you’ll also need a powder funnel. They run the price gamut from around $5 to over $100 and help get the powder out of the pan and into the case without spilling it all over the place. A powder trickler is a nice-to-have but not completely necessary.
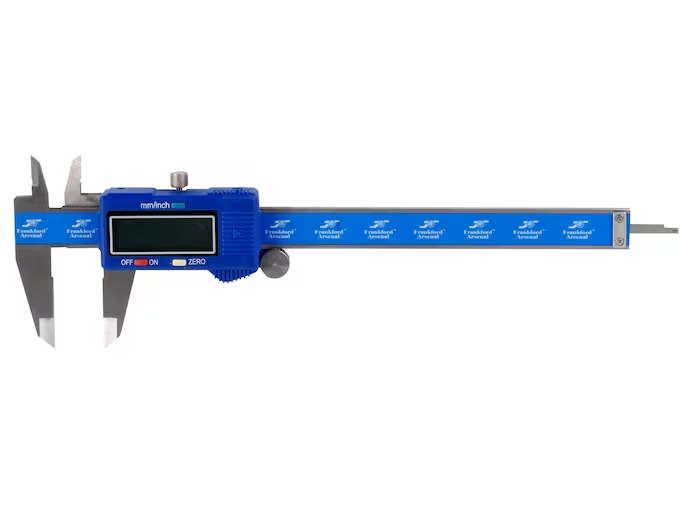
There are a few other accessories you’ll need to start out with. You’ll want a priming tool. They make seating primers a breeze and help keep primer seating depth consistent. A quality caliper is needed to check the overall length of the completed cartridge. A set of deburring/chamfering tools will make reloading easier and the finished cartridge fit in the chamber without dragging or damaging it. A primer pocket reamer/uniformer does just what it says. Most of these accessories are included in the kits I mentioned earlier.


You’ll also need a case lube kit. This keeps everything moving smoothly during the resizing process. I prefer the pad type lube kits, but the spray type works just as well if a bit messier. Some of these kits include a case neck brush, but if it doesn’t you’ll need to pick up one of those too.
Shotshell reloading
Shotshell reloading is a slightly different proposition. Not only do you need more components like shot cups and wads, you need specialized equipment for crimping and shot metering. Fortunately, companies like Lee make decent, inexpensive gear. The Lee Load-All is a decent starter shotshell press. If you’re a serious trap or skeet shooter, you may want to look at one of the presses/loading stations from MEC.
Individual Components
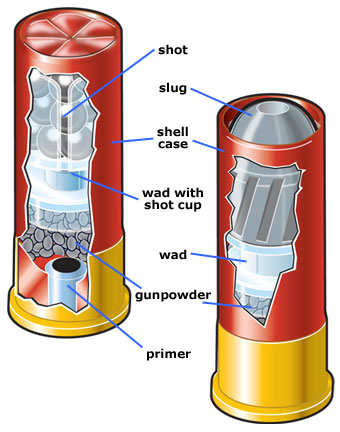
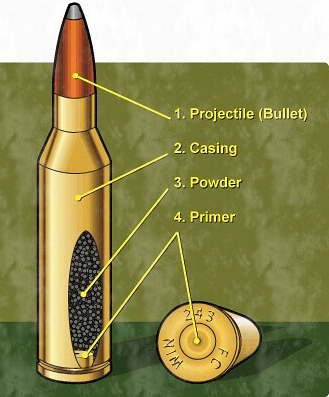
A loaded rifle or pistol cartridge consists of four components, the case, the projectile (or bullet), a primer and powder. Shotgun shells have some extra parts like a shot cup and wad.
Powder
There are hundreds of different formulations of smokeless powder available. These different formulations deflagrate (yes, deflagrate is the proper term, black and reloading powders are low explosives) at different rates. There are also different grain structures. These differences can create highly varying pressures. One thing to keep in mind about powders is that they can vary slightly from lot to lot. If you’re using a volumetric powder measure, be sure to check the weight to volume every time you open a new container of powder. You may have to change the bushing.
You need to be damned sure you’re using the correct powder for your specific caliber. You can find safe load recipes in the various reloading manuals. I do not recommend using load data from random internet sources. Bubba on the internet may have had good luck with his recipe in his gun, but it may detonate yours.
Federal regulations state that you can have no more than 50 pounds of reloading powder at home. If you’re keeping more than 20 pounds, it needs to be stored in a wooden box or cabinet with a minimum 1″ wall thickness. Your state or local jurisdiction may have additional restrictions on powder storage.
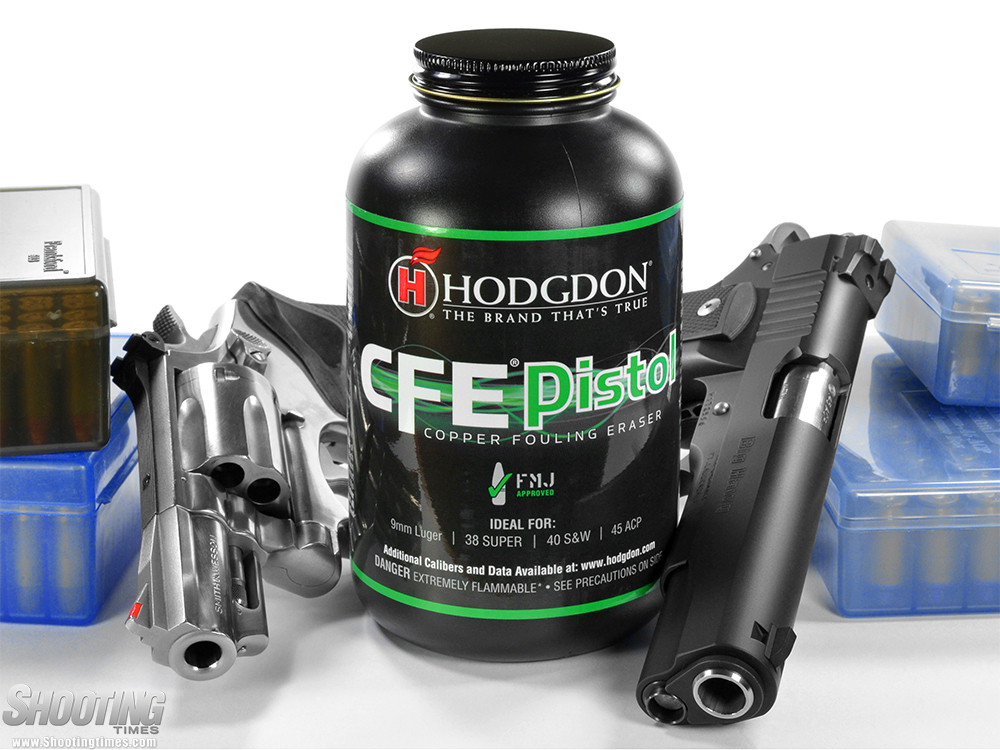
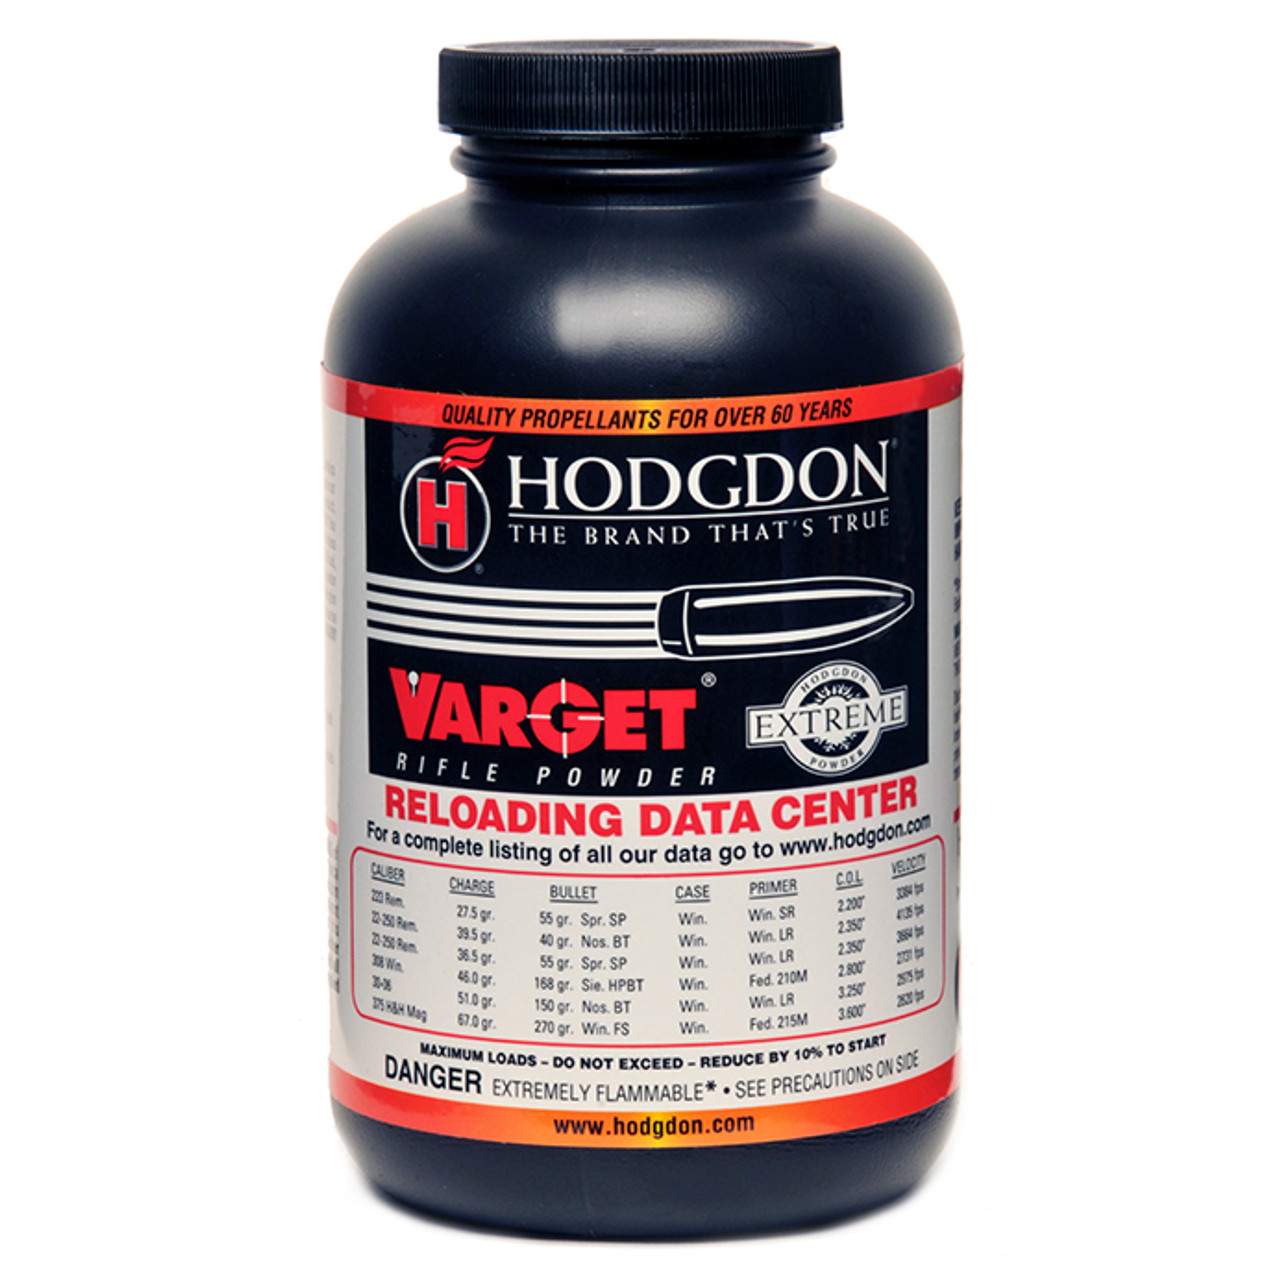
Reloading powders come in two sizes on the consumer market, 1lb bottles and 8lb kegs. A pound of powder is equal to 7000 grains. The number of rounds you can load will vary depending on the particular recipe you’re using. A pound of CFE pistol, a commonly used powder for 9mm, will net you around 1200 rounds in that caliber, while a pound of Varget will net you about 270 rounds of 5.56.
Primers
Consider the primer as the bang button. Primers convert the mechanical energy of a falling firing pin or striker to chemical energy in the form of fire. For the purposes of this article, we’re only going to talk about Boxer primers. There is another form of primer construction, Berdan, that is not reloadable at home.
Primers come in 6 sizes, small pistol, large pistol, small rifle, large rifle, 50BMG and #209 shotgun primers. It should be noted that the small and large sizes are dimensionally the same, however they are not interchangeable. For the most part anyway. The rifle primers contain more priming compound and can create dangerous overpressure when used in pistol cases. The reverse is true if you use pistol primers in rifles. The smaller amount of priming compound can fail to fully ignite the much larger powder column in a rifle case.
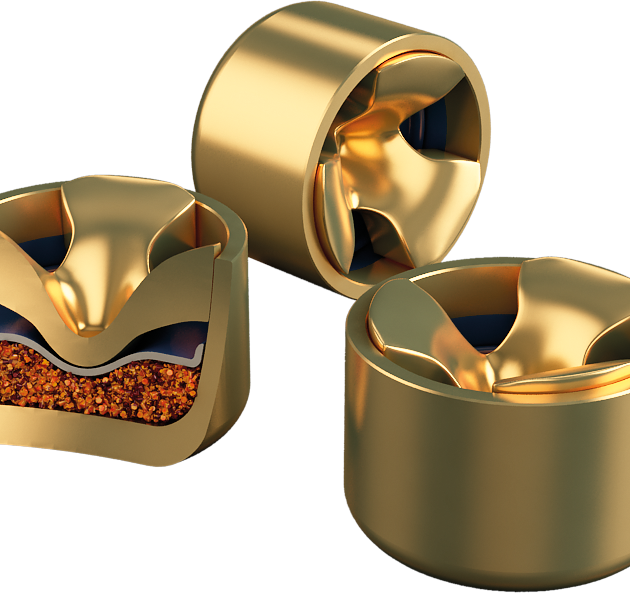
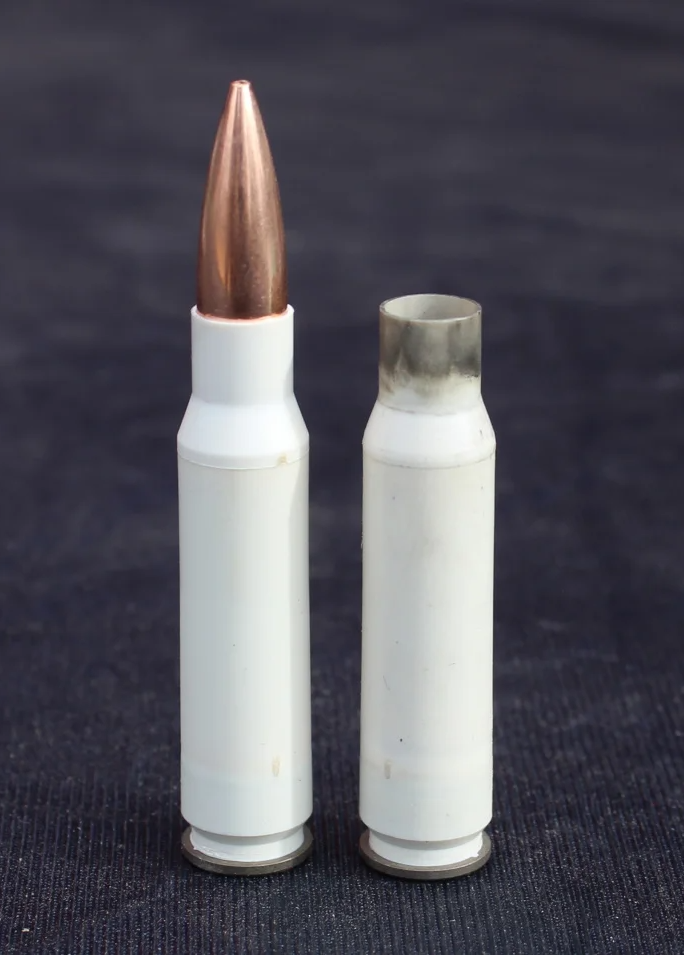
Primers for rifles and pistols look like the left hand image above, #209 primers like the right hand image. They are functionally the same, but #209s have an additional flange. Nearly all the major ammo manufacturers produce primers for retail sale. Keep in mind, the amount of priming compound can and does vary from maker to maker. If your recipe calls for Winchester #41 small rifle, use that primer and not, say, Federal 205m primers. I suppose you should have noticed a trend in this article by now. Until you’re a very experienced reloader, do not deviate from the published load recipes and data.
Bullets
There are a wide variety of choices for bullets for reloading. The choice of construction, type and weight are all more-or-less personal choices. Some bullet types are better for specific uses than others, but as I have covered that elsewhere, I won’t belabor that point. Suffice to say, choose an expanding bullet for hunting, match bullets for serious target shooting and whatever is cheapest for plinking.
One of the better points of handloading your own ammo is that the bullet choice is much greater than it is in factory ammo. You can usually get heavy or light for caliber bullets to handload that aren’t available as loaded rounds.
Story time with Uncle Danny. . .
I mentioned in the intro that the reason for this article was an experiment I was doing. I was trying to hit 5,000 fps with a rifle chambered in .220 Swift. The fastest commercially available load for the .220 swift has a published velocity of 4415 fps with a 35 grain pill. I managed to hit that number and then some, by loading up some 25 grain custom .224 diameter bullets I found online. That bullet and a slightly compressed load (101% of case capacity) of 42 grains of IMR 3031 got me a mean 10 shot velocity of 5120 fps out of a 28″ barrel. This was just a velocity experiment, accuracy with the max velocity load was less than stellar. I suspect the bullets were spun too fast and that impacted the ballistics.
I can’t stress enough **DO NOT try this at home** I am what you’d call a trained professional.
Cases
The case is the container that holds everything together. We will only be discussing brass cases here. In this section, I’ll be using case and brass interchangeably. You can find steel and aluminum cased ammo, but those are generally not reloadable. There is also polymer cased ammo around. That is supposed to be reloadable, but I haven’t seen any of the tooling needed to do so.
Finding brass is easy. You can buy fresh, unfired brass or once fired brass at any place that sells reloading supplies. You can also pick up brass at the range. I’d caution you to closely inspect range brass, as there are a lot of guys that discard old, used up brass at the range.
So. what are you looking at when you inspect range brass, or any brass for that matter? Check the neck for any cracks or discoloration. Look at the primer pocket, if there is any appearance of soot or the hole looks out of round, discard the case. If there are any bulges or dents, discard the case. If the color of the brass looks odd around the base, discard the case. Any of those defects are weak points, and a case can rupture there. You don’t want a faceful of hot gas and unburnt powder. Ask me how I know. . .
Once you’ve looked over the brass, it’s time to prep the cases. De-capping or removing the primer (they’re the same thing) the case is my first step. It isn’t necessary to do so, but I have a dedicated de-capping setup, so that’s how I do it. If you don’t have a decapper, no worries, your resizing die has one built in.
The next step is cleaning the cases. Do you need to clean the cases? No, but. . . Cleaning the brass prior to resizing keeps all the gunk on the case out of your dies and can prolong the life of your tooling.

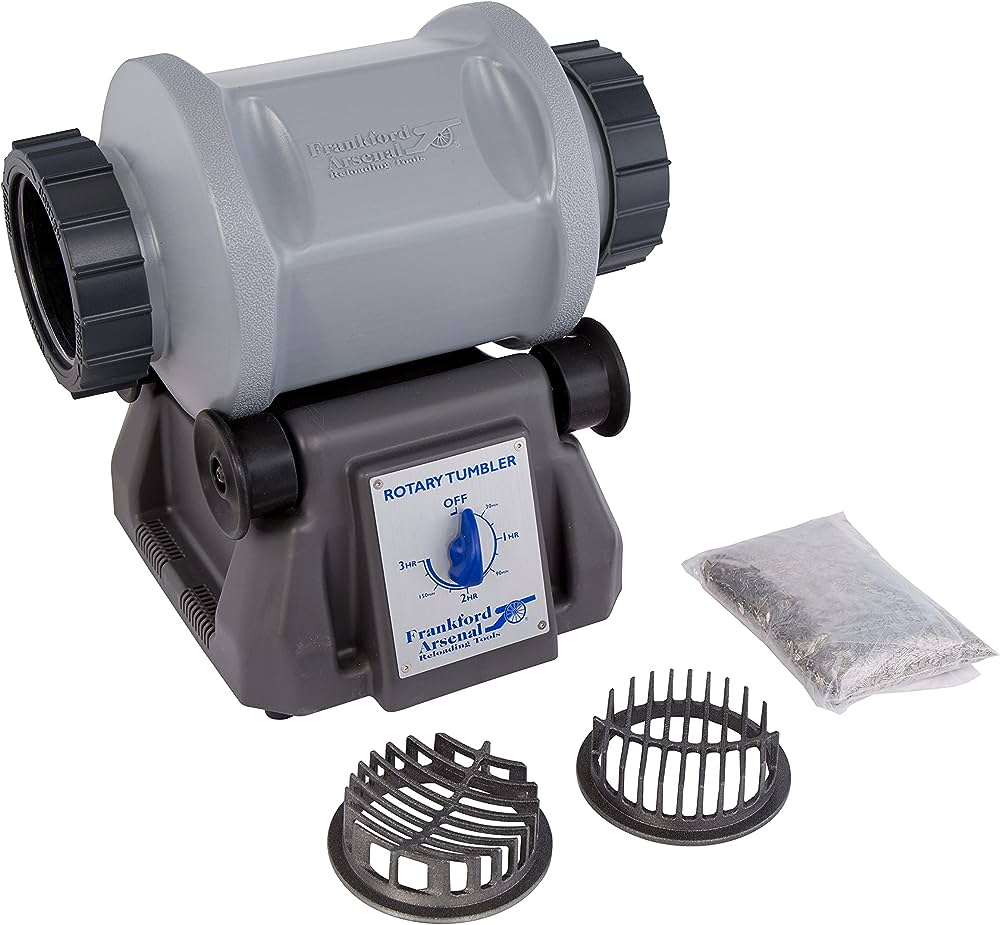
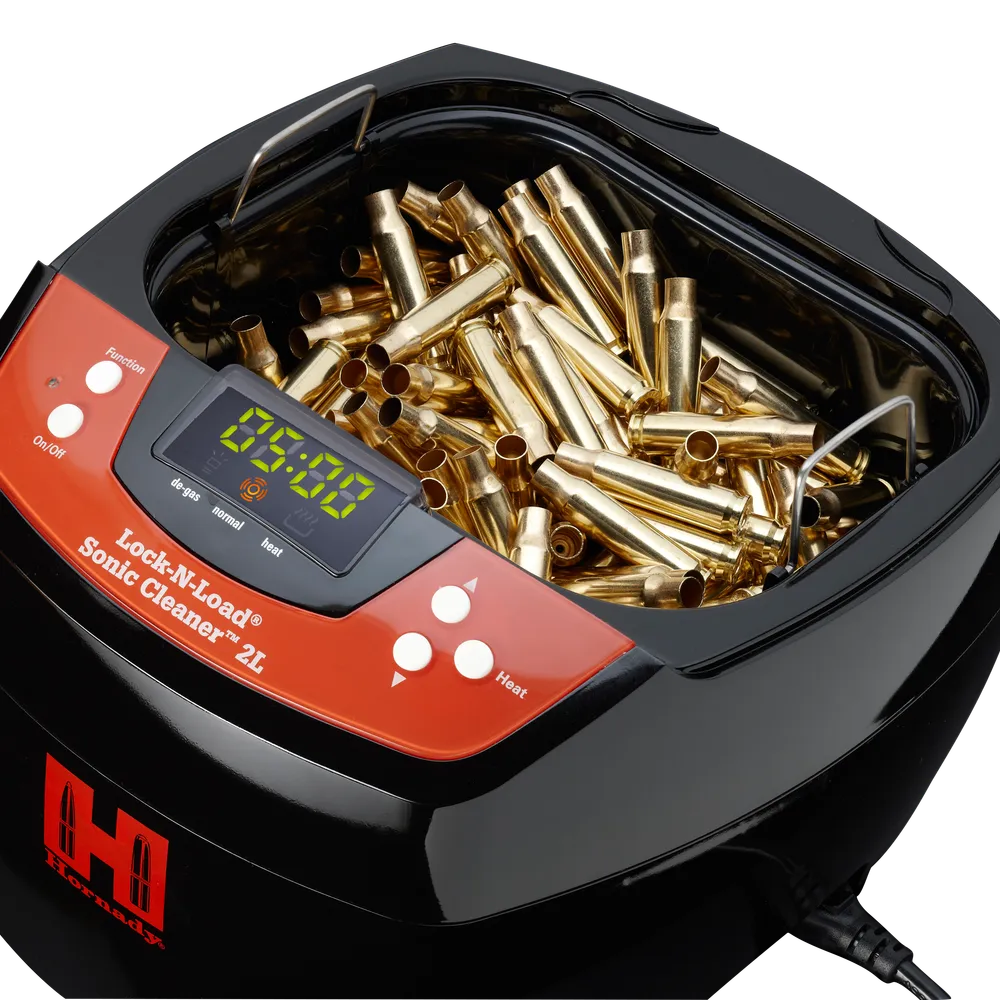
You can clean brass with a tumbler or an ultrasonic cleaner. Both options work, but tumbling your brass makes it nice and shiny. There are a few different types of tumbling media out there. Walnut shells, corn cob and stainless steel pins can all be used to tumble brass. If I’m being honest though, the only time I tumble brass now is if the finished product is going to someone else. Tumbling takes time, and the sifting process can be a pain. In a pinch, you can wash your brass in some hot, soapy water. Regardless of which method you choose, give the cases a good rinse when you’re done. Once the cases are dry, hit the primer pocket with a reamer, just to make sure everything is the way it’s supposed to be.
The reloading process
Once you’ve gotten all your components together and prepped the brass, it’s time to start the reloading process. I’m going to make a few assumptions here, namely that you have a clean organized space to work in and that you’ve mounted your press to a sturdy bench or other surface. The exact process will vary based on your press, but the steps will mostly remain the same. I know men aren’t supposed to read directions, but in this case be sure to do so. Set up your press as described in the instructions. I assure you your Man Card will not be revoked.
- Lube the cases. Lightly lubricate the sidewalls of the case but do not get any on the shoulders of bottlenecked cases. That can lead to damage to the shoulder. Using a case neck brush, libe the inside of the case neck.
- Insert the case into the shell holder. With the press handle in the up position, slide a case into the shell holder.
- Size the case. Gently but firmly lower the press handle all the way to the bottom and run the case all the way into the sizer die. This will size the case to the proper dimension and push the fired primer out of the case. Next, raise the press handle. This will lower the case and expand the case mouth (on bottle-neck cartridges), correctly setting the case neck diameter to hold the bullet tightly.
- Check the case length. After several firings, cases sometimes stretch and become longer than the specified maximum length. These cases must be trimmed to allow for proper chambering and for safety reasons. Use a dial or digital caliper to check the exact case length. Check the reloading manual for maximum case length and trim length.
- Chamfer and deburr. Cases that have been trimmed need to also be chamfered and deburred. This will remove any burrs left on the case mouth after trimming and will allow a new bullet to be easily seated into the case.
- Expand the case mouth. (This only applies to straight-walled cartridges. Because of their design, straight-wall cases need to be expanded in a separate expander die. Install the expander die in the press, place a sized case in the shell holder and run it into the die. The expander should be adjusted so the case mouth is belled outward just enough to accept the new bullet.
- Prime the case. This can be done either with a hand primer or with your press. (For most brands anyway, refer to the instructions of your particular press)
- Measure the powder. Consult the reloading manual to learn what kind of powder, and exactly how much is recommended to reload your cartridge. Then weigh the recommended charge on your scale. After accurately weighing the powder charge, pour it into the case using a powder funnel.
- Bullet seating. Set the seating dies according to the instruction manual. Place a primed and charged case into the shell holder. Take a bullet and hold it over the case mouth with one hand while you lower the press handle with the other, easing the case and bullet up into the die. Run the case all the way up into the die. Check the seating depth and make any adjustments as needed.
- Crimp the bullet. Run the cartridge up into the crimping die. This step is only necessary with some cartridges. If it is necessary, your die set will come with a crimping die.
Your first reloaded cartridge is ready to be fired. Of course, I’ve described only one case going through all the reloading steps. When actually reloading, you’d take a batch of cases through each operation before moving on to the next step.
Once again, and I cannot stress this enough, You are dealing with potentially dangerous materials and you need to take every precaution to prevent an accident.