Firearms Maintenance
I’ve decided to wade into the subject of firearms maintenance today. The subject is fraught with opinion, tradition, myth, legend and outright falsehoods. I am going to attempt to cut through most of that and present an easy to follow, fact and science based maintenance regime for your firearms.
Many of you reading this served in one capacity or another, and are well versed in the way the military expects weapons to be cleaned and maintained. You know, the weapon needs to be absolutely spotless or the armorer won’t take it. Well, I’m here to tell you that much of the reasoning behind that is no longer valid. The military fetish with firearms cleanliness dates back to the days of corrosive primers and black powder. With modern, non-corrosive primers and powder, you can go quite a while between cleanings with no ill effects.
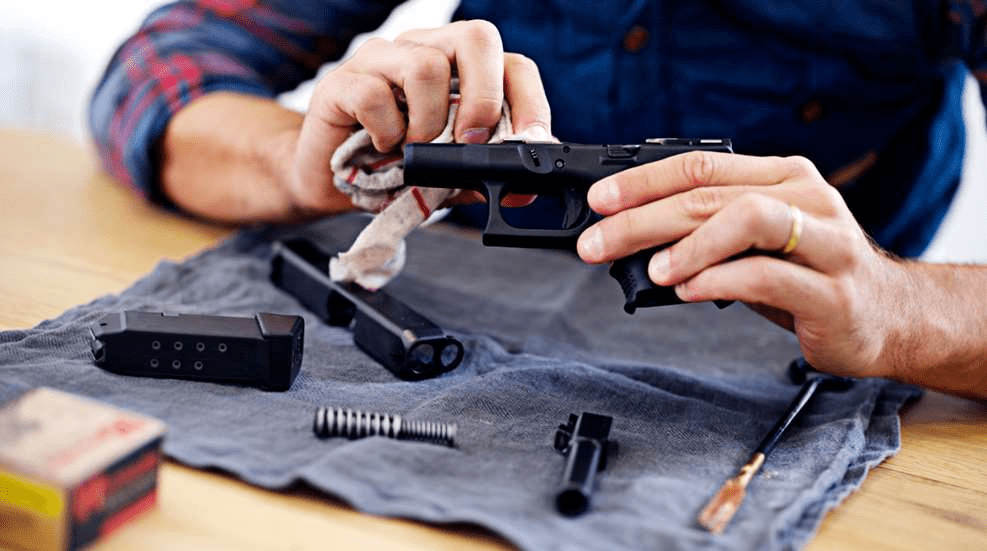
I am going to make a couple of assumptions here, mainly that you already know how, and how far, to disassemble your particular firearm for cleaning. I’m talking about a basic field strip, not a complete detail disassembly. For the method I’m going to share today, a field strip is just about as far as you need to go.
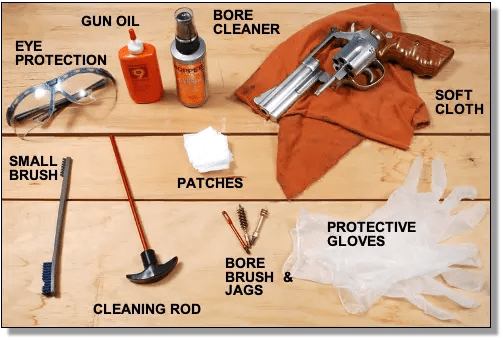
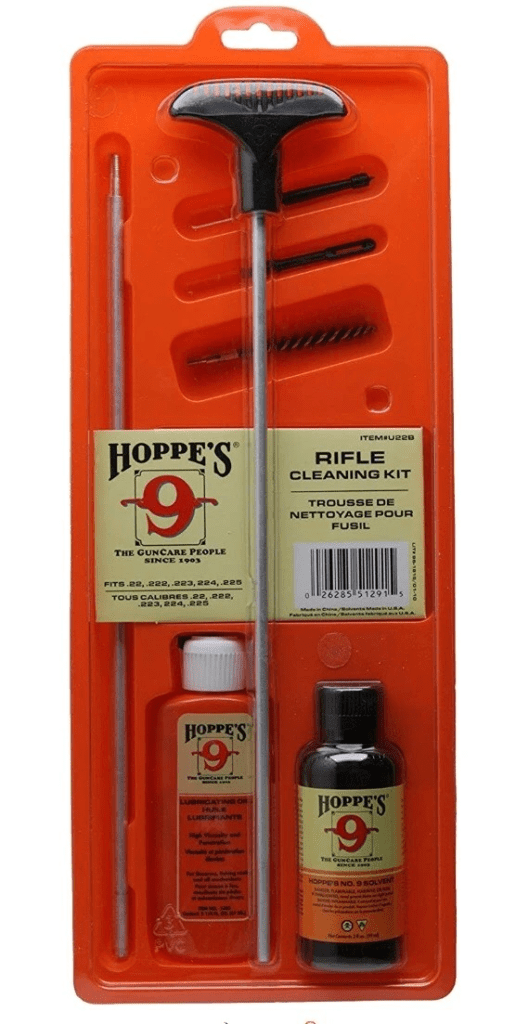
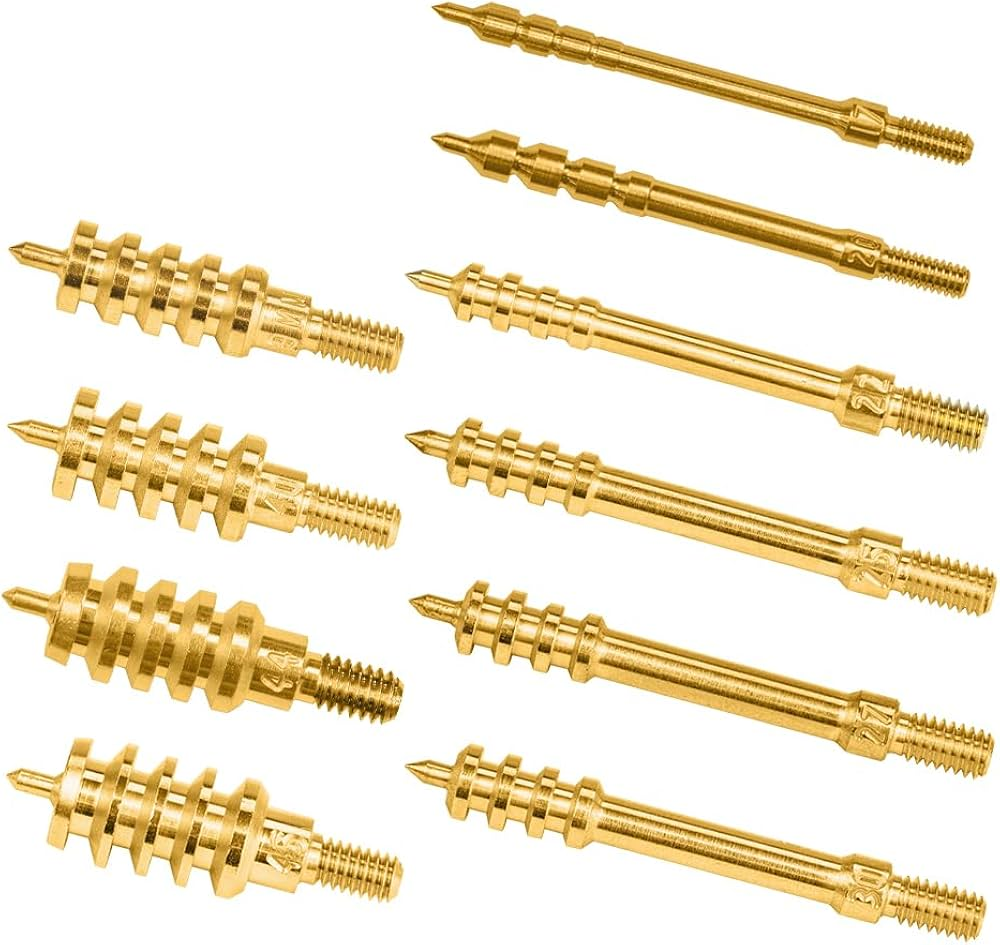
I am also going to assume you have the tools and chemicals you need. If not, the ubiquitous Hoppe’s kit has almost everything you need, I’d only add a couple of nylon and brass toothbrush type cleaning brushes. While I am not a big fan of the aluminum multi-piece rod that comes with that kit – it’s soft enough to pick up abrasive debris, the joints rarely line up well and it flexes a bit too much – they work and are conveniently sized when broken down. I personally tend to use caliber specific one piece brass rods for all my cleaning. I am also not a fan of the slotted patch holder. I prefer pointed patch jags, they seem to be more effective at getting down into the grooves of the rifling.
And while we’re on the subject of cleaning tools, I almost never use stainless steel bore brushes, they can damage the bore. The only time I use stainless is if I have a heavily coppered barrel. Brass rod ends contain copper, and can give the false impression that you are still removing copper from the bore. (The residue from copper removal is a blue color, the solvents can leach the copper out of the brass ends.)
I like old cotton t-shirt material for patches and rags. I cut them into rough squares sized for a particular bore diameter. They are soft enough to not damage anything, abrasive enough to remove dirt and grime and reasonably priced (I mean, cutting up a T-shirt you were going to trash anyways makes them free right?)
You can use whatever solvents and oils you like with one exception: never use WD-40 on a firearm. WD-40 is a water displacer (that’s what the WD stands for, and less encouraging it took 40 tries to get it right) that happens to contain petroleum distillates. It is not a very effective lubricant and does not hold up to high temperatures. As the light distillates evaporate, WD-40 leaves sticky deposits that can cause issues in firearms.
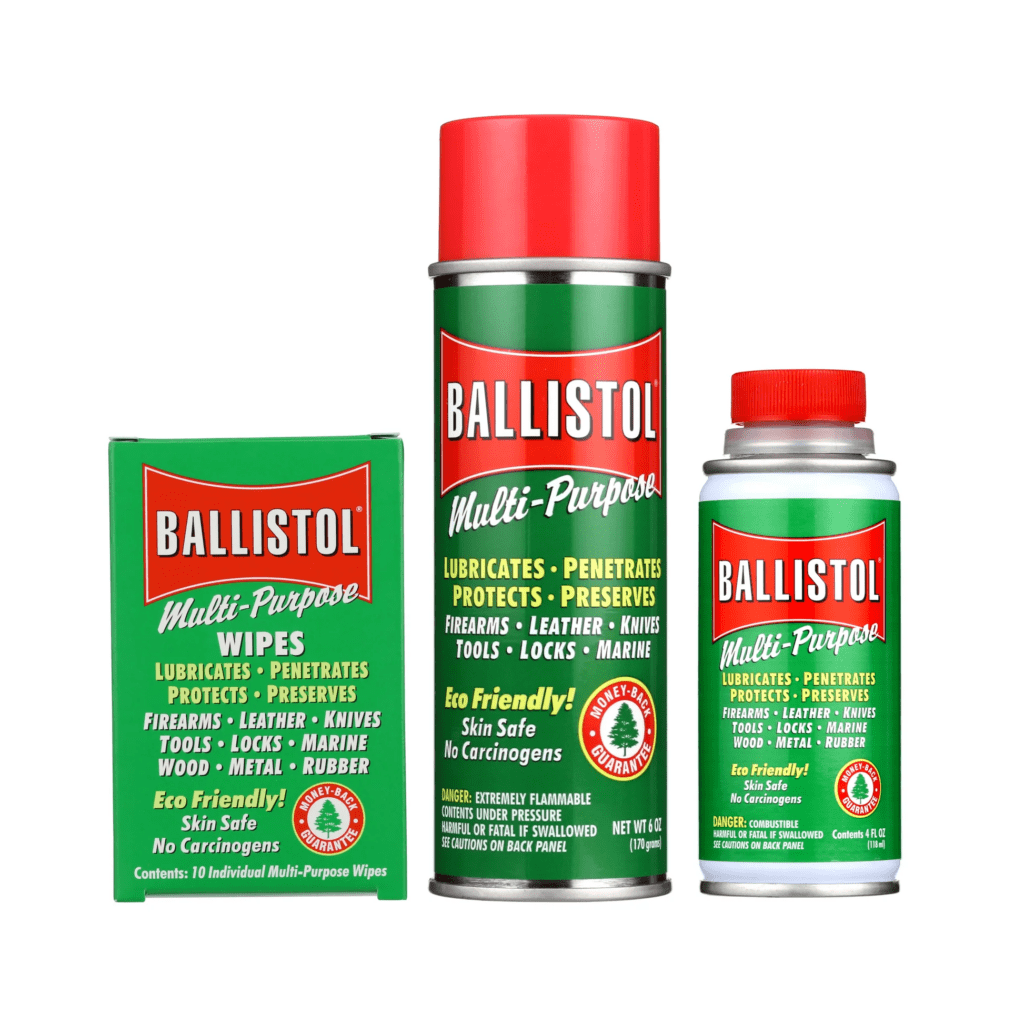
I don’t care for all-in-ones like CLP either. CLP (Breakfree CLP is the civilian version of military issue CLP) in particular doesn’t do anything particularly well. It was chosen by the military because it doesn’t do anything particularly bad either. You are far better off with use specific products. My one exception to not using all-in-ones is Ballistol. That WWI German invention gets used primarily on older milsurps where I am concerned about the condition of the wood. The formulation of Ballistol allows you to use it on almost any surface including all metals, wood and leather. I wouldn’t recommend it, but one of the original uses for the product was as a digestive aid. No, I am not kidding.
As far as bore solvents go, Hoppe’s #9 has been around for as long as it has because it is effective at removing most barrel fouling. A heavily coppered barrel might need some specialty solvent, but for 99% of you, Hoppe’s is all you need. While I will use other products, there is always a bottle of Hoppe’s on my bench.
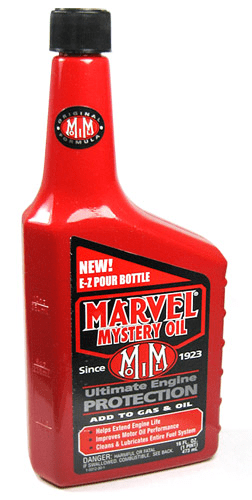
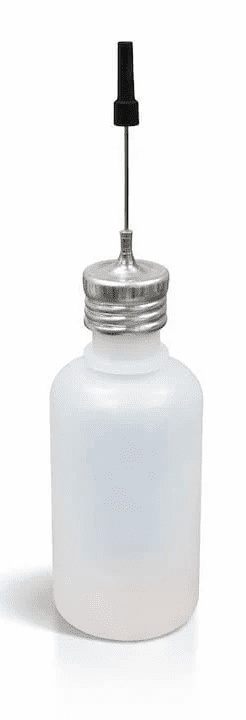
I make my own gun oil. I got the recipe from an old Green Beret Weapons Sgt.: a pint of Marvel mystery oil and a quart of ATF. I have changed from regular ATF to full synthetic and use it on almost every firearm in my collection. I store it in the ATF container and keep some in a needle oiler. Do you need to go that route? Probably not, there are a ton of quality gun oils on the market.

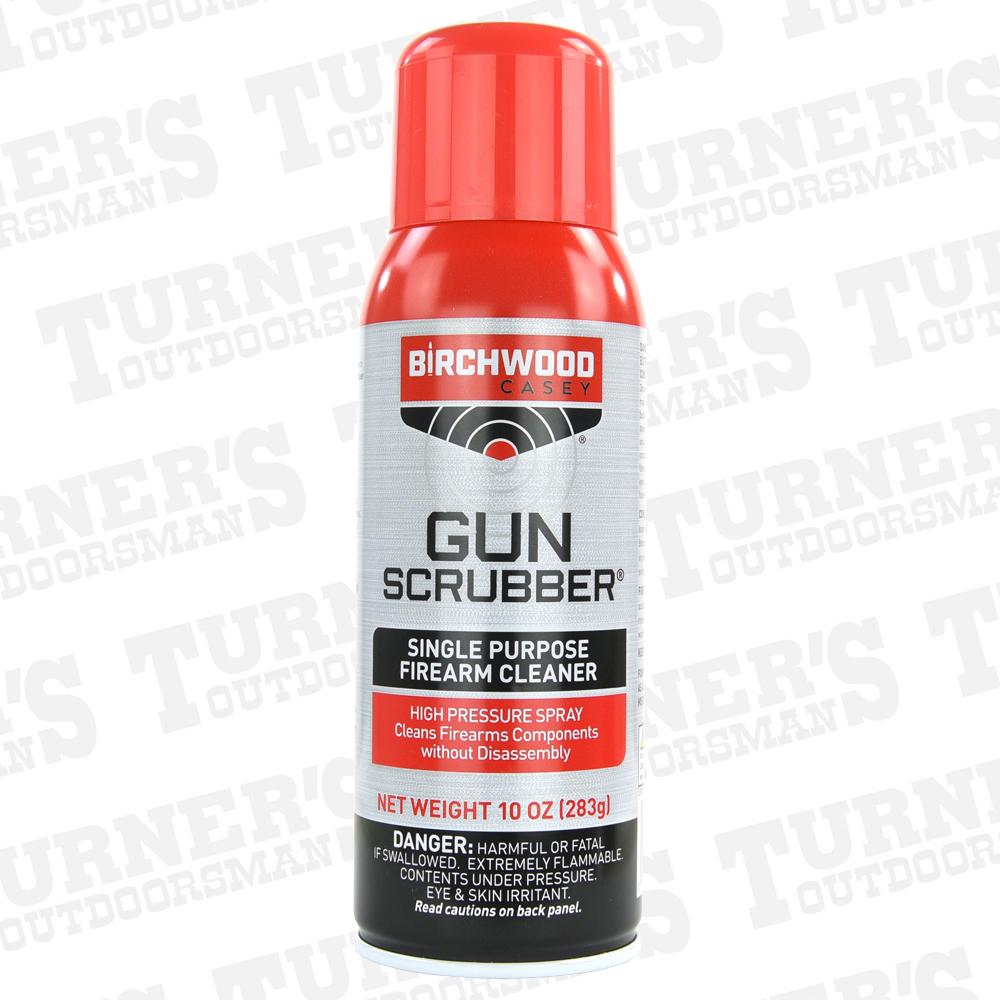
The only other thing you’ll need for this method is a can of aerosol solvent cleaner like GunScrubber from Birchwood Casey. I personally use carburetor cleaner or brake cleaner, the formulations are very similar and they tend to be a fair bit cheaper. Be warned though, brake cleaner contains no lubricant and leaves your metal parts unprotected. It can also leave a white residue on polymer parts. No worries though, a wipe with a slightly oily rag will clean that right up. I would be cautious about using the automotive products on a firearm with a fine wood stock, they can – and will – damage wood finishes.
The first step in cleaning a firearm using my method, or any other for that matter, is to ensure your firearm is clear and unloaded. More negligent discharges happen during maintenance than at any other time. I do not keep any live ammo anywhere near the bench where I do my cleaning and firearms service, I suggest you do, or don’t do as the case may be, the same.
Next, you need to disassemble your firearm. As I said above, this method doesn’t require a complete teardown, just a field strip. Once you have the gun broken down, it’s time to start cleaning.
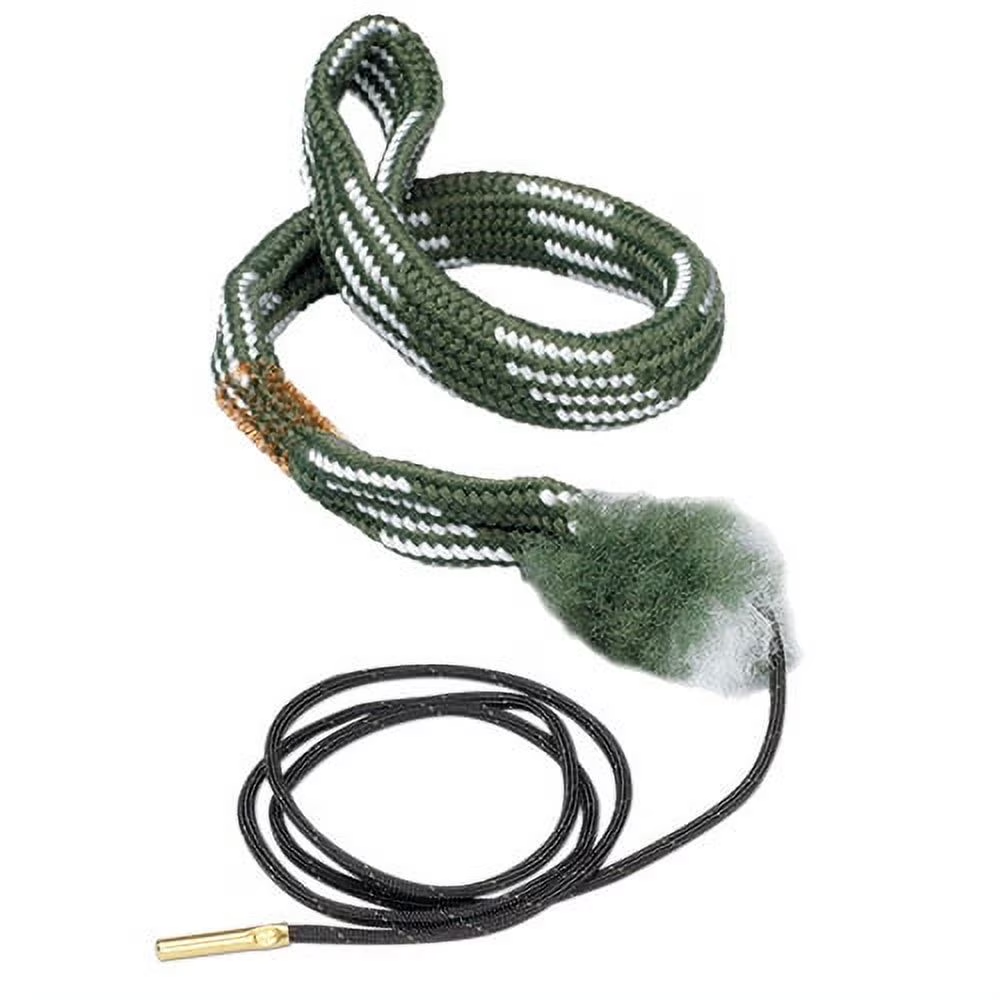
I usually start with the bore. Wet a patch with your favorite bore solvent and run it down the bore. Work from the breech to the muzzle if you can. If it’s not possible, you may want to invest in one of the pull through type cleaning ropes. The reason behind the breech to muzzle direction is to reduce the chances of damage or wear occuring at the muzzle end of the barrel. That’s bad m’kay.
After you’ve wet the bore with solvent, give it a few minutes to work. Then take a bore brush and again, working from the breech to the muzzle, run a brush through the bore. Do not change direction with the brush while it is in the bore. Doing so can damage the bore and ruin your brush. If you’re working on a gun that the barrel is a separate component, like most auto-loading pistols, shotguns and ARs, move on to the next step. If the barrel isn’t a separate part, like on a bolt action rifle take a break. Let the solvent soak for a bit before continuing. But not too long, 10 or 15 minutes tops. Leaving most bore solvents in the barrel for too long can damage the bore. This is especially true of ammonia based copper removers.
While the barrel is soaking spray the receiver/frame with the gun scrubber. Don’t be shy, really spray it down. Use the spray to flush out all of the debris and gunk that collects in the receiver. Hit any stubborn spots with the toothbrush, and spray it down again. Once the parts are clean, set them aside to dry. Once the cleaner has dried, apply a light coat of oil to all the moving parts.
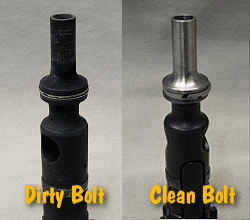
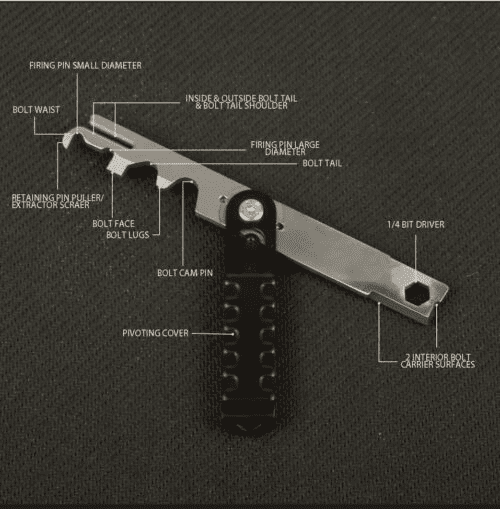
If you’re working on a rifle with an easily removable bolt, field strip it. The disassembly procedure varies quite a bit, and some – mostly rimfire – bolts are not supposed to be disassembled. Spray the bolt body, striker/firing pin and any other parts with cleaner, scrub as needed, wipe dry and lightly oil. AR bolts are notorious for carbon build up on the tail of the bolt. There are tools that can make the process of removing said carbon much easier. If you have an AR, you may want to invest in one. (Parenthetically, if you run your AR ‘wet’ with oil there will be considerably less buildup. I know your DS/unit armorer told you to run it dry, but they were/are/continue to be wrong.)
Now that you’ve cleaned the receiver, it’s time to finish the bore. Run a couple of solvent soaked patches through the bore to rewet it, then switch to the brush. After making a half dozen one way passes with the brush, switch back to the jag and run a few dry patches through. Depending on how dirty your bore is, you may have to repeat this process a few times. Once the dry patches come out clean, lighty oil a patch and run that through the bore.
At this point, if you are working on a bolt or lever action or anything with a one piece barrelled action it’s time to clean the receiver. Just follow the instructions for that above. If you’re working with something with high end wood, be careful about getting any cleaning chemicals, particularly the aerosol solvents, on the finish.
At this point, just prior to reassembly, dampen a clean rag with whatever oil you are using and wipe down all the metal parts. This gives a layer of corrosion protection to the parts.
Now it’s time to reassemble and function check. You have now got a clean firearm.